Configuring Email
Email is used to notify the selected identities that an item has either entered a specific life cycle state, or that it is in transition between states. So, for both the state and the transition, the configuration dialog is the same.
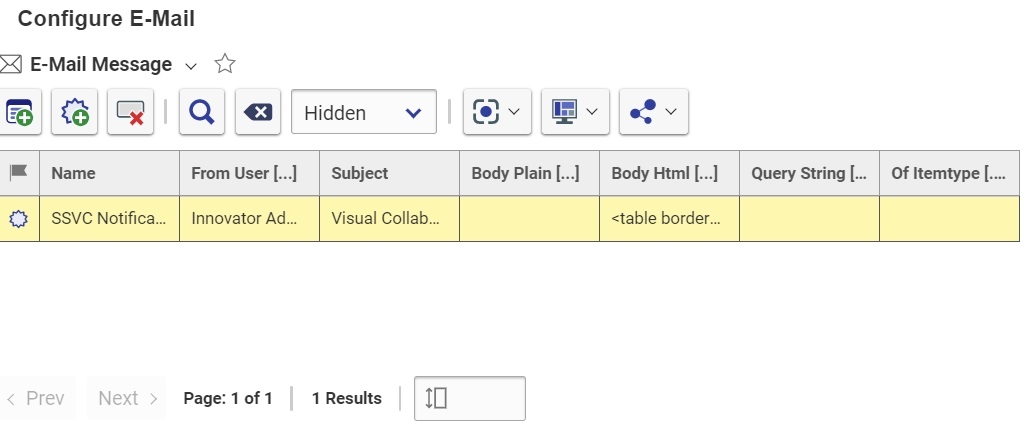
The top part of the dialog allows for the message itself to be specified. You can have more than one message specified, as in fact you might want a different message to be sent to different identities. In the bottom part of the dialog you specify which identities will receive the message currently selected in the top pane.
Selecting a configured e-mail:
1. Click the Configure E-Mail link in the Life Cycle map you selected. The Configure E-Mail dialog box appears.
2. Click the Add E-Mail message button  . The EMail Message search dialog appears.
3. Click the Run Search button  to see a list of previously configured emails.
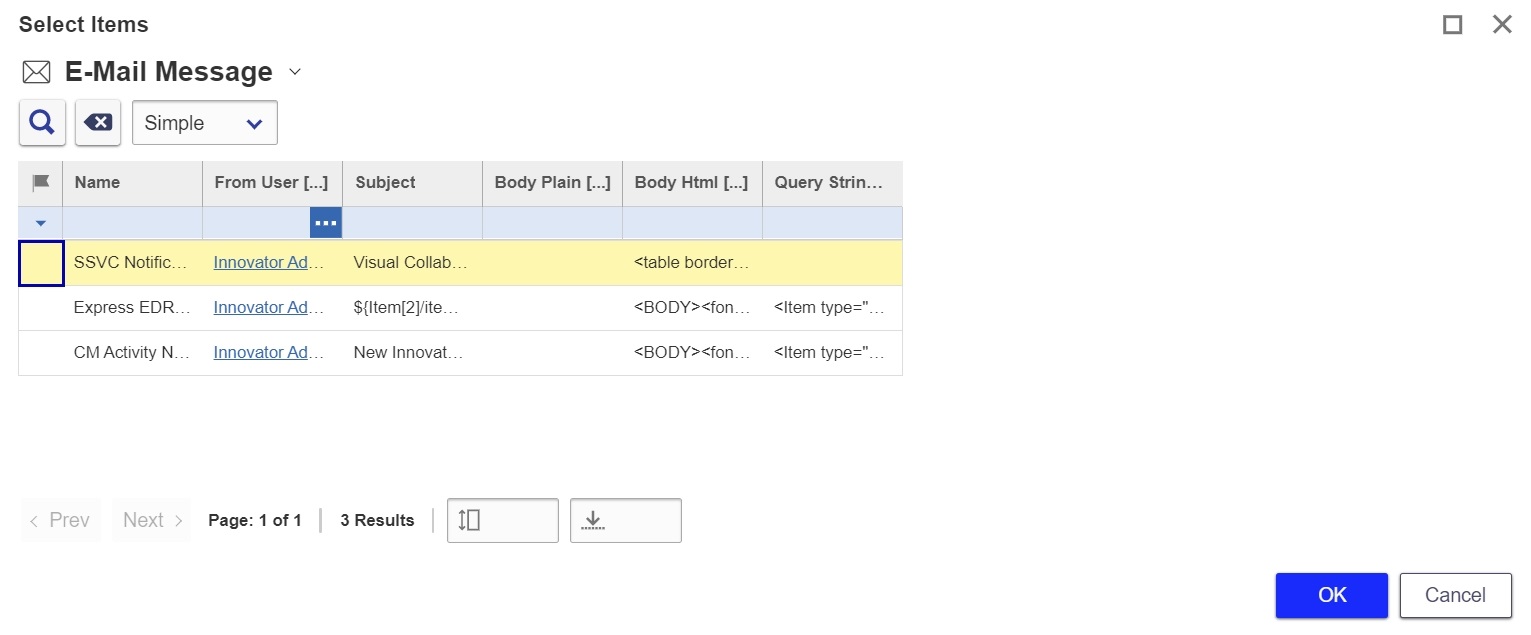
4. Select a message type and click  . The pre-configured email is added to the list.
A new line is created in the top pane. The following table describes the properties:
|
Property |
Description |
|
Name |
The name of the e-mail message itself |
|
From User |
The identity from whom the message will be sent. If none is specified, the identity configuring the e-mail notification will be used. Hit F2 to bring up a search dialog with all available identities. The chosen identity must have a valid e-mail address. |
|
Subject |
The subject line of the e-mail. |
|
Body Plain |
Plain text version of the message to be sent (for recipients who do not accept HTML) |
|
Body HTML |
HTML version of the message to be sent |
|
Query String |
If you wish to write complex notifications, that require data from various items in Innovator, you can write a query to request this data from the database. The retrieved data can then be referenced in the body of the e-mail message. For example, if you wish to show values of a related item in the e-mail message, you will need to write a query to retrieve it. To learn how to write these queries, please refer to the Advanced Programming course, or contact your Aras Consultant. |
|
Of Itemtype |
Because the same life cycle map can be used for many different ItemTypes, this field is used to make the e-mail message specific to a particular ItemType that is being promoted or transitioned. If no ItemType is specified in this field, this message will go out for every ItemType that has this life cycle and that is promoted or transitioned to the specific state/transition where this e-mail message is configured. |
- Click the Add Identities button in the Identities section of the dialog to specify existing identities that will receive the e-mail (make certain that those identities have a valid e-mail address). Click the New Identity to add an identity. The Identity search dialog appears.
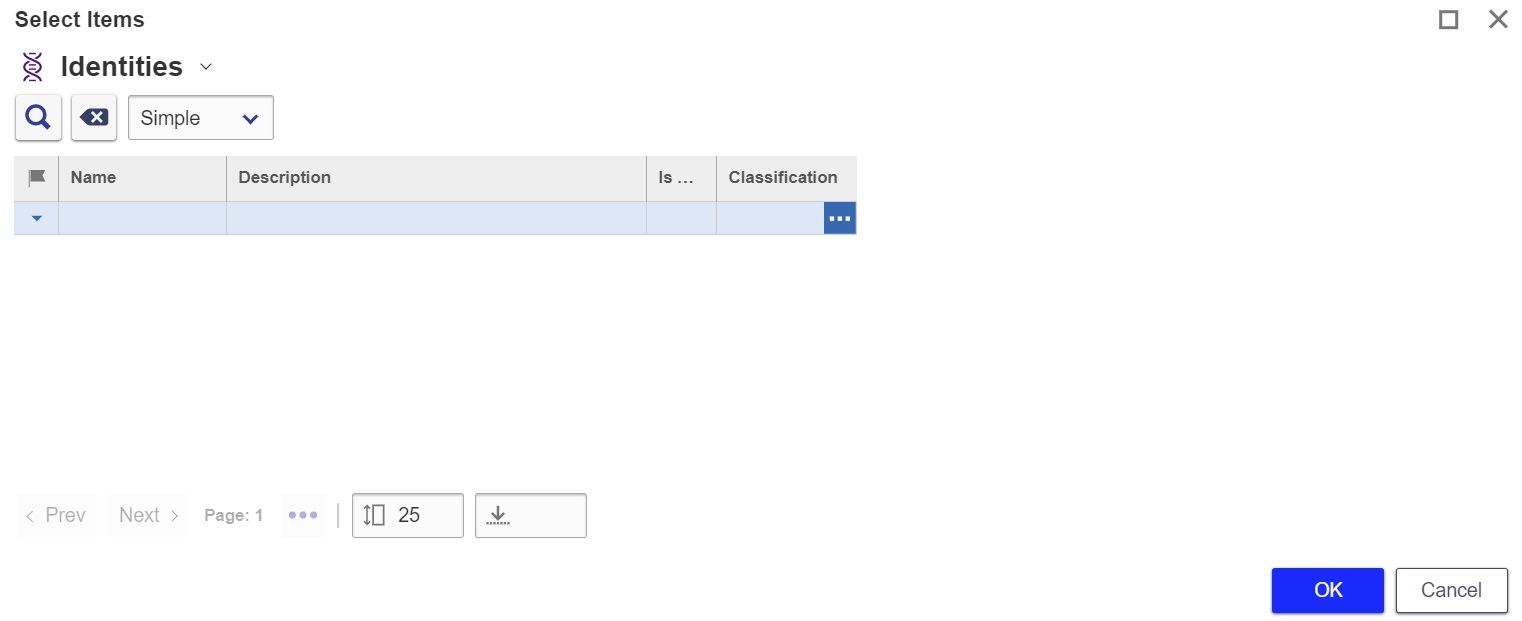
6. Select the identities that you want to receive the email and click  to add them.
Creating a Configured email
Use the following procedure to create an email:
1. Click on the Configure Email link in the LifeCycle Map that you have created/selected. The Configure E-Mail dalog appears.
2. Click the New Email button  to create your own email. A row is added to the dialog box.
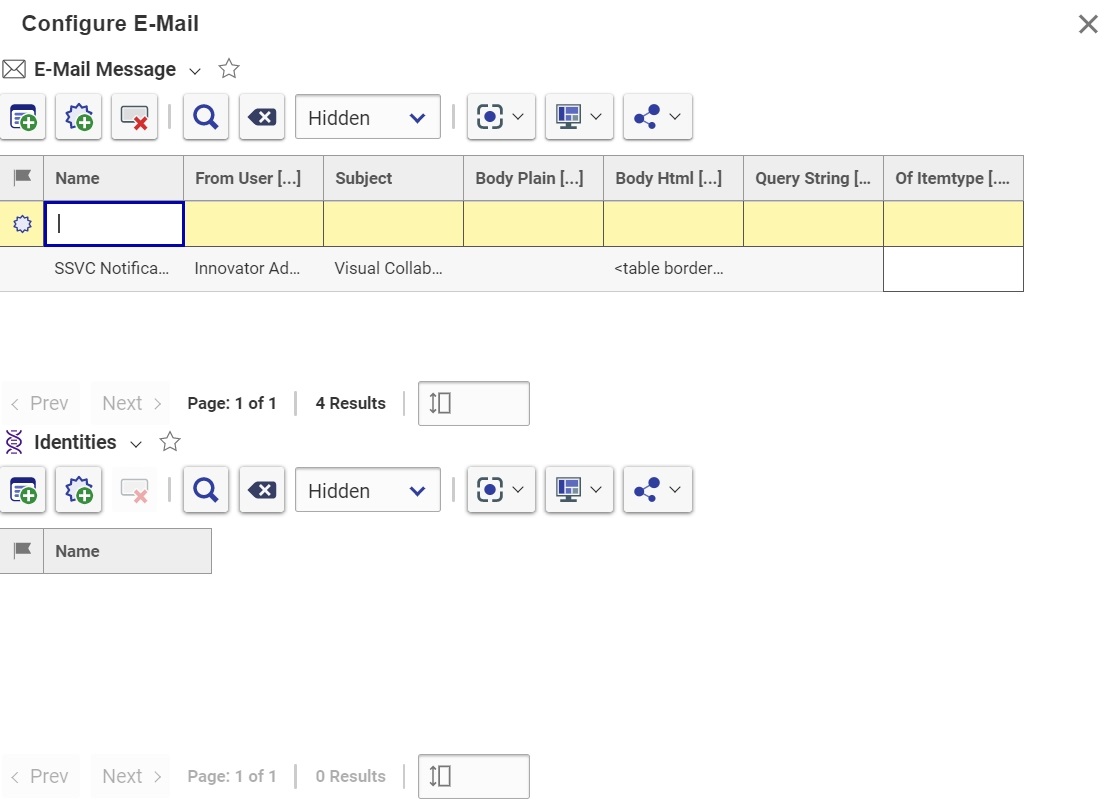
3. Enter a name for the email in the Name field.
4. Double-click the From User cell and click the ellipses button  to select the users to associate with the email. The User search dialog appears.
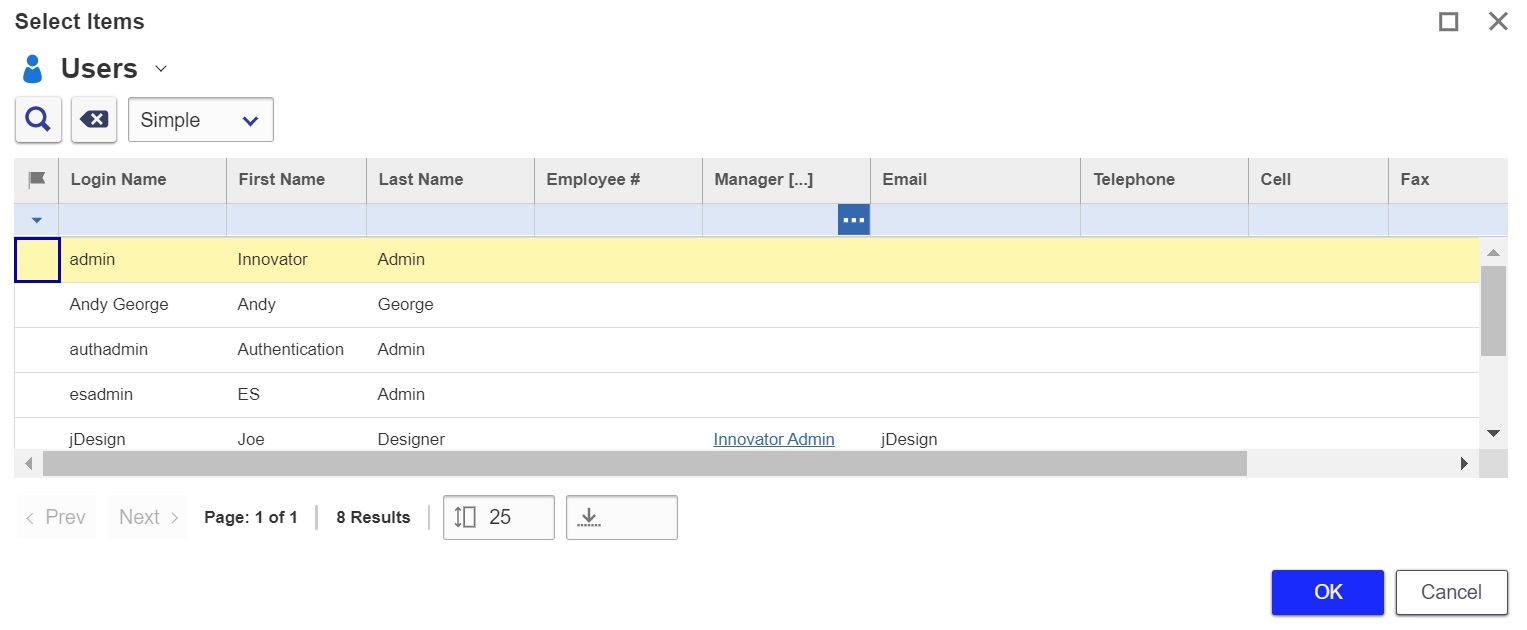
5. Select user names to associate with the email and click  .
.
Using Variables in Email Text
You can use variables in the e-mail text to identify the exact item and its property values, making the e-mail message more specific. You can insert any item property using the syntax ${property name}, including system properties. There are also the following runtime variables supported in Innovator:
|
Variable |
Definition |
|
$[USER] |
The current logon name |
|
$[ALIAS] |
The alias identity of the user |
|
$[DATE] |
String containing today's date |
|
$[TIME] |
String containing the current time |
Here is an example. We have an item with the following properties: name, part_number, and color. It also has the usual system properties, and we will use the property state to indicate which life cycle state the item is entering. An e-mail message could be configured as shown below. If you right click on the e-mail row and select View "Email Message" from the pop-up menu, you will see the Email message in a separate window, as shown here.
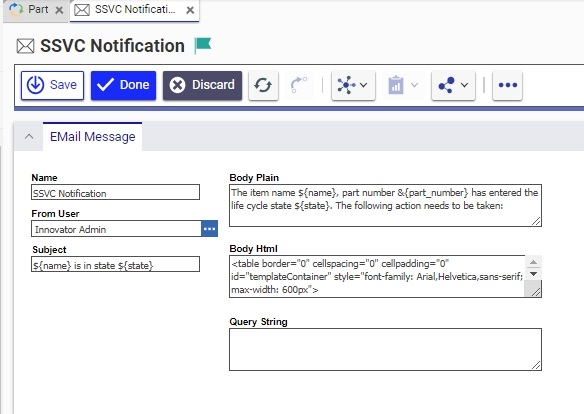
Notice the use of two variables in the subject line - ${name} and ${state}. Please make sure that you use the property names, not labels. The Body of the message is using the additional property ${part_number}.