Classification Specific Properties
Both Part and Document types have initial classification structures. In this application, the normal Aras Innovator classification display has been altered. Normally, a Parameters tab displays all the class-specific properties in an Item’s form. The Parameter tab has been disabled. Instead, these class-specific properties are dynamically displayed on the Item form.
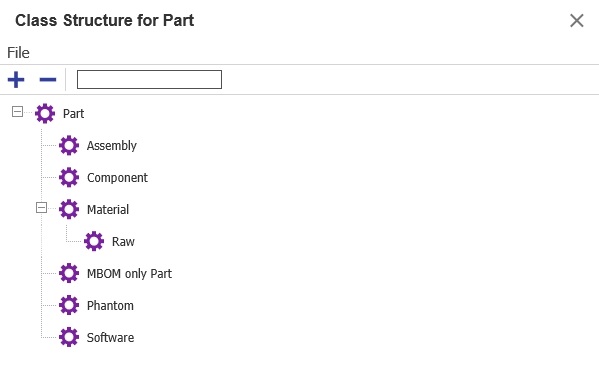
Parts class structure can be changed and expanded to reflect customer needs. Currently, the class Part has four subclasses - Component, Assembly, Material, and Software. You can add subclasses, change them, add a new level of subclasses, and more importantly, add class specific properties that would apply only to the specified class; including a lifecycle. Here are a few examples.
Let's say that for parts classified as software, you want to add a property called Build Number. Here is what you would do.
Adding a class specific property
- Click the Nav button
 . The TOC appears.
 - Click Administration>ItemTypes. The following menu appears:
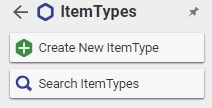
- Click Search ItemTypes, search for a Part, and open the Part for editing.
- Add a new property, name it Build Number.

- Click on the Class Path cell of the new property to open the class path form. Select Software and click the green arrow
 .
. - Double-click the Data Type field and click the down arrow to specify the Data Type for the property.
- Save the Part.
- In the TOC, select Administration>Forms, search for the Part Form, and open the Part form for editing.
- Click on the New Text icon
 from the toolbar. A new text field is added to the Part Fields list.
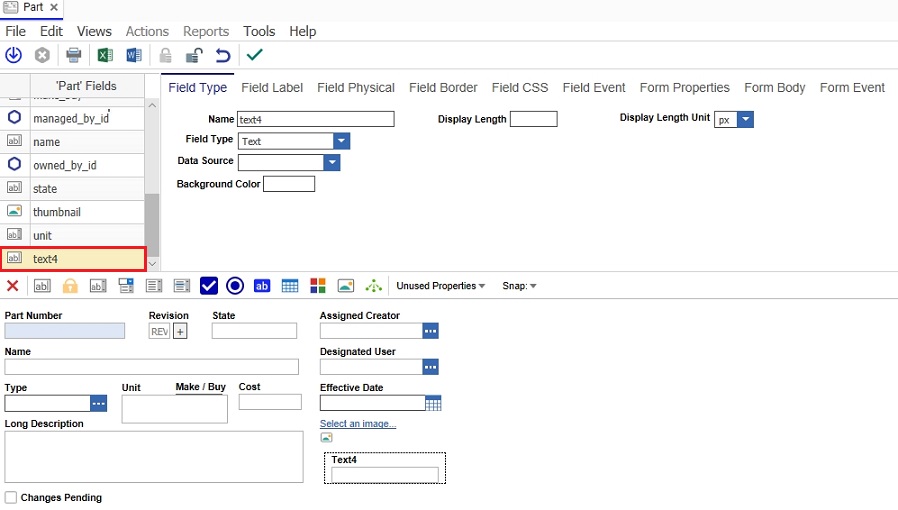
- Enter Build Number as the Part Field Name and the Label name in the Field Label tab.
- Place the new field on the form.
- Select the Field Physical tab. Uncheck the Visible check box. This property will automatically become visible when a Part classified as Software is created, but will remain invisible for all others.
- Save and unlock the form.
You might want to edit the class structure first, or perhaps add new classes, and then add properties to the newly defined classes.
Adding a new class to the class path
- Click Administration>ItemTypes, search for Part, and click
 to open it.
 - Click the
 button. The class structure form appears.
 - Right click any node to add subordinates.
- Once done, save the class structure, and save the Part ItemType before adding properties.
- To add class specific properties for newly created classes, see above.
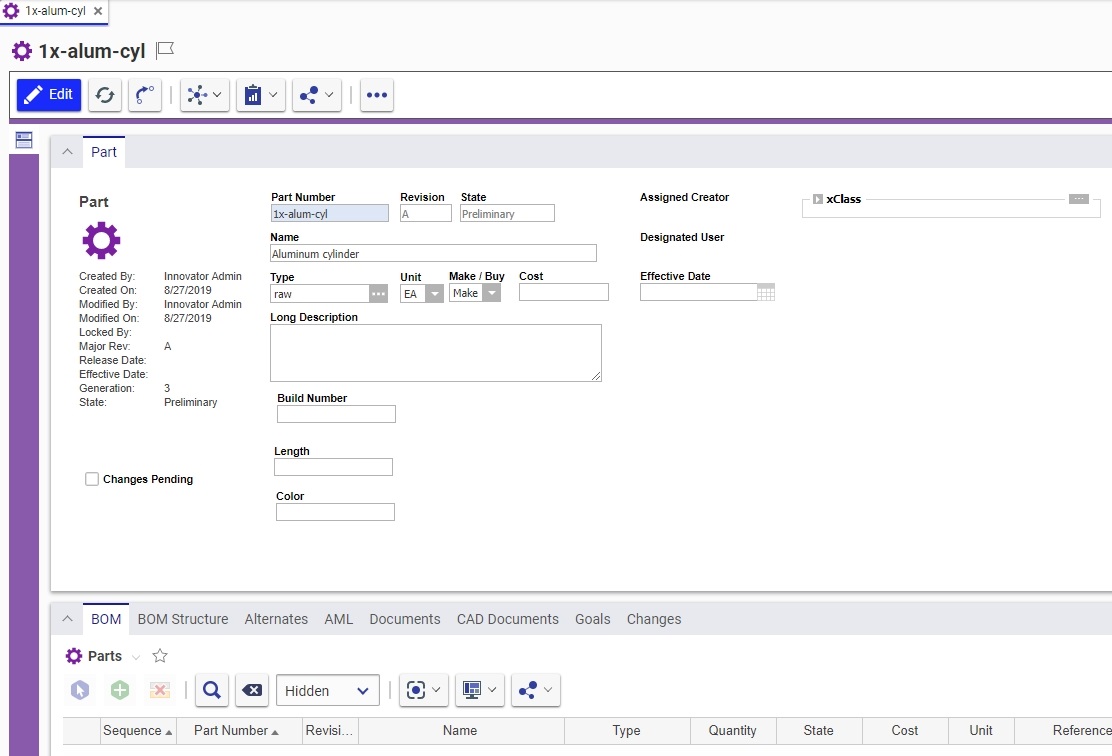
If you add a subordinate class, you may also wish to add a class specific border to the form to identify to the user which class is responsible for the additional properties. For example, if the Raw class had two class-specific properties named "Length" and "Raw" your class structure would look like this:
Now, you could make your form look like this:
Adding a class specific border to a form
- Select Administration>Forms from the TOC.The Form menu appears:
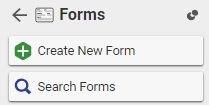
- Click Search Forms. A list of existing forms appears in the grid.
- Search for the Part form and open it for editing.
- Search for parent class border, in our case, material_border.
- Go to the Field Physical tab, and check the Visible box. The border should appear on the form. We will come back later and turn it off, but for now it's easier to position the subclass border if we can see the parent border.
- Go to the Field Type tab and copy the HTML code of the material border.
- Click on the New HTML
 button to create a new HTML field.
 - Under the Field Type tab, paste the copied HTML code from material_border.
- Name the field classname_border, which in our case would be raw_border.
- Position the border where desired on the form.
- Edit the HTML code to give it a different label if desired, and different height, if desired. In the example above, the final HTML code looked like this:

- Under Field Label, make sure that no label is set.
- Once the border looks good, go to Field Physical and uncheck the Visible box.
- Remember to uncheck the Visible box in the parent class border.
- Save, Unclaim and Close the form.