Creating a Workflow Map
Creating a workflow map consists of creating activities and connecting them with paths. Here you will learn how to open a new Workflow Map and how to create activities and paths to populate it.
Opening a new Workflow Map form:
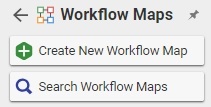
- From the Navigation pane, select Administration>Workflow Maps. The following menu appears:

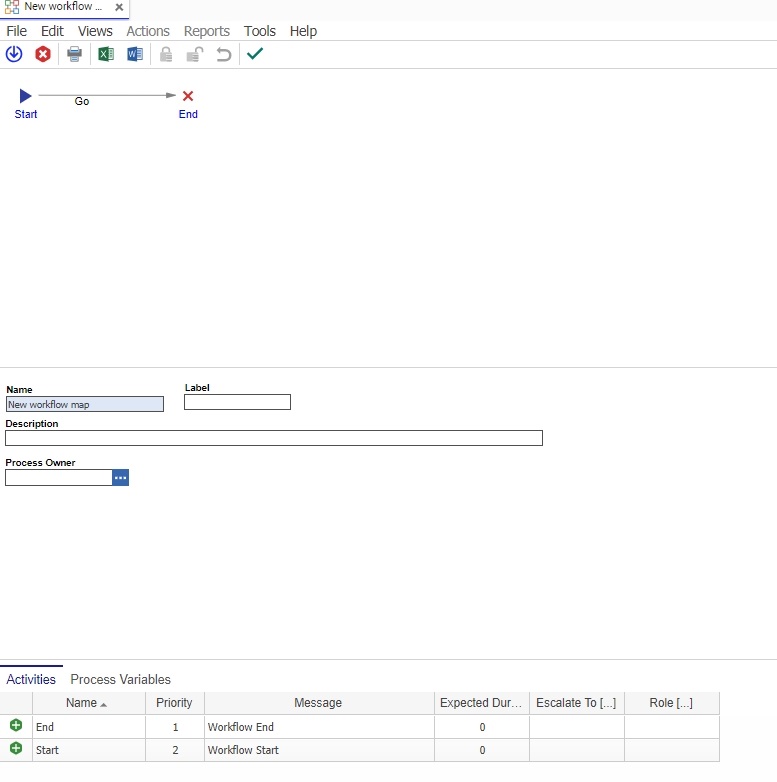
- Click Create New Workflow Map. A blank Workflow Map window appears.

The header properties of the workflow map are as follows:
- Name - the name of the workflow map
- Label - the name of the workflow map that appears on the item.
- Description - the description of the process described in the map.
- Process Owner - an identity responsible for this process, typically a group identity.
There are two tabs for the Workflow Map itself:
Activities- this tab will list all of the activities as they are created in the map, along with some of their properties. The interface for creating, deleting, and modifying these activities is through the graphical designer. The information on this tab is just a summary.
Process Variables - a list of variables that need to be added to the map as a whole. These variables can be accessed programmatically as properties of the cycle.
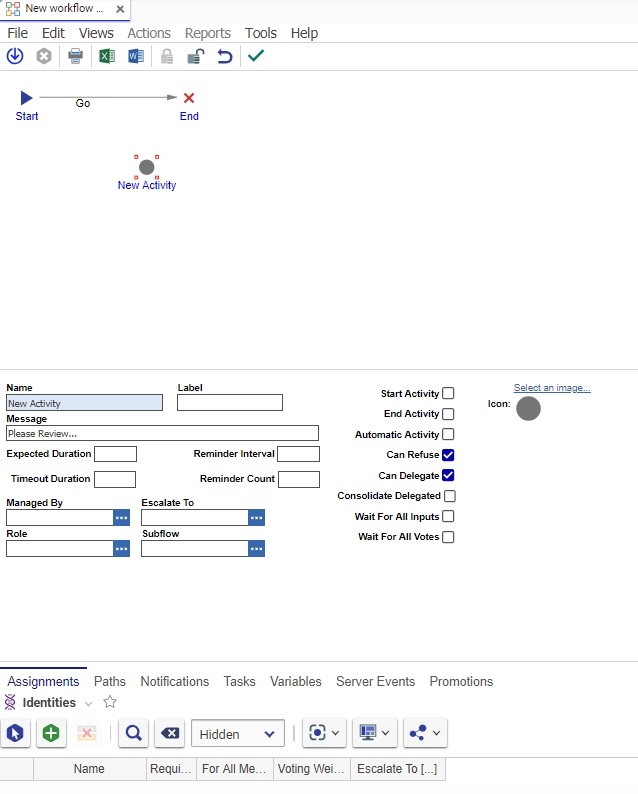
Creating an Activity or node
- Right click on the map background, and select Add Activity from the pop-up menu. A new node is placed on the map and is selected automatically.

- Fill out the header properties and the tabs as described in Workflow Activity.
Creating a New Workflow Path
- Right click on the Activity from which you would like the Path to start.
- Select Add Path from the pop up menu. The Path vector isconnected to the mouse. Point to the Activity where the Path will end, and click.
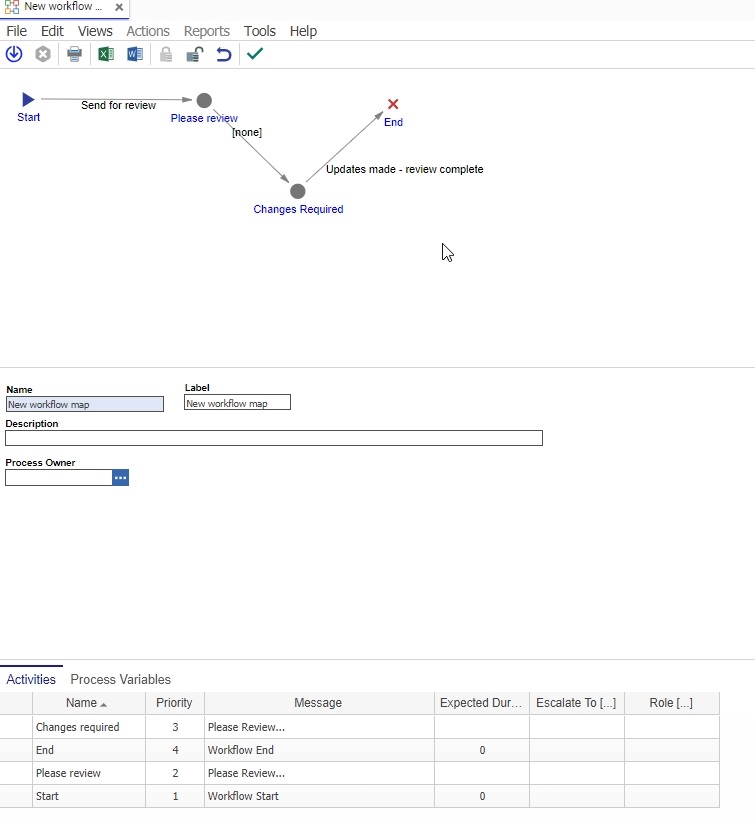
- You should see the path connect the chosen activities. Click on the path again to select it, and notice the properties change in the bottom two panes:

The Activity tab lists the workflow activities associated with the map. The Priority numbers associated with the activites indicate the order of the activities. The Process variables tab enables you to add context information to a workflow.
Fill out the properties of this path as described and shown in Workflow Path.