Create Project from Template
A project can be created from any approved template. When the project is created this way, it will automatically inherit the work structure of the template. Some activities may be optional and may be modified or even deleted by the project manager. However, some activities, marked as required on the template, cannot be deleted from the project once it is created. This structure is enforced in order to preserve the company required structure and best practices.
The following is a list of steps that are different if the project is created from a template rather than from scratch. To get the complete list of all steps and a full description of all properties, follow the Create a Project page flow.
To create a project from a template:
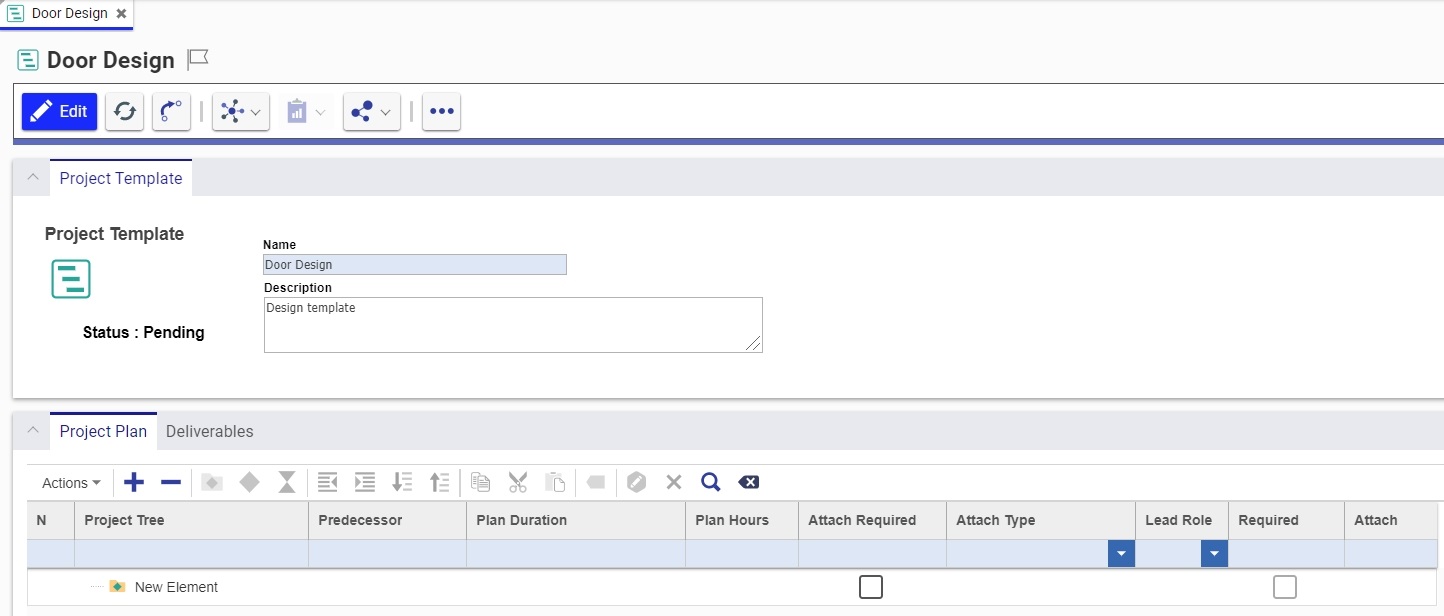
- From TOC, Portfolio, Projects, create a new Project. The initial form appears:

- Fill in the required properties, making sure that the correct template is selected for the Project Template property. If the required template does not seem to appear in the drop down list, make sure that the template is in the right life cycle state, see Approve a Template. For more information on initial form properties, see Create a Project.
- Click
 to start the project creation process.
 - Once the project is created, the project manager needs to assign actual identities to roles. To do this:
-
Go to the Team tab of the new project.
-
Click the Select Items icon
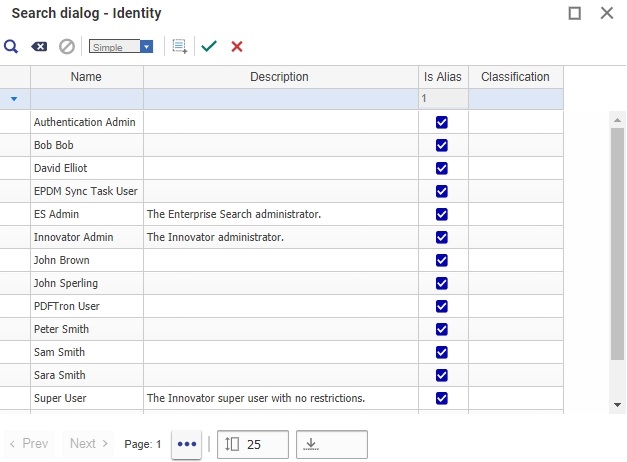
 . The Identity Search dialog appears:
- Select the identity to associate with a particular role and click
 .
.
-
Replacing Identities
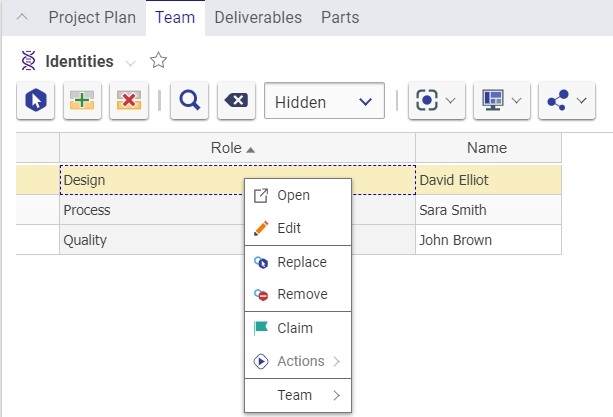
- Right-click the role in the Teams tab that you want to replace. A drop-down menu appears:

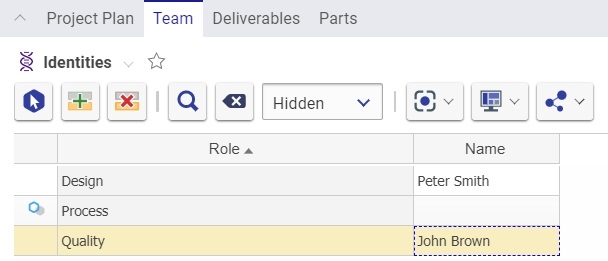
- Click Remove to delete the role. Notice that the selected identity has changed to null.

- Click Replace to select a different role for that identity.
- Continue to replace all related items, until all roles have identities associated with them.